

Bobbleheads are fun, personalized gifts that can add a unique touch to any occasion. Whether for a birthday, graduation, or as a quirky desk ornament, making your own bobblehead can be a rewarding and cost-effective project. In this guide, we’ll explore several ways to create your own bobblehead without breaking the bank.
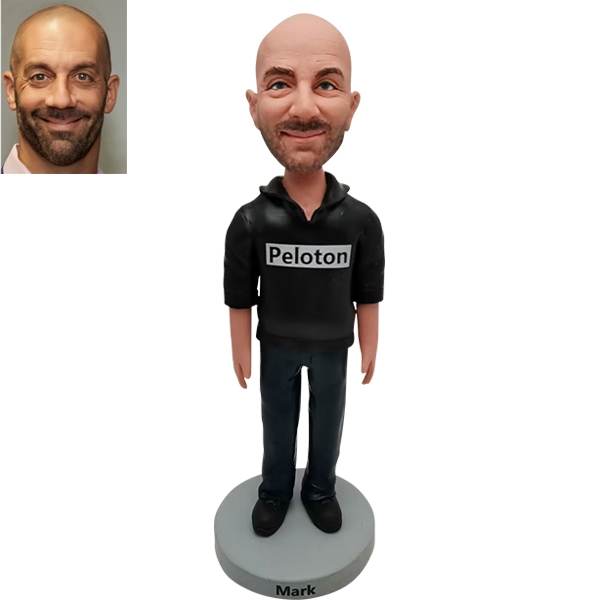
Why Create Your Own Bobblehead?
1. Personalization
Creating your own bobblehead allows you to customize every detail, ensuring it perfectly captures the essence of the person or character you want to portray.
2. Cost-Effectiveness
Making your own bobblehead can save you money compared to purchasing a custom one from a store.
3. Fun and Creativity
The process of designing and crafting your bobblehead can be a fun and creative endeavor, offering a satisfying hands-on project.
Materials You’ll Need
Before diving into the process, gather the necessary materials:
Basic Materials:
- Polymer clay: For modeling the head and body
- Wire: For creating the skeleton
- A base: Such as a small wooden or plastic platform
- A glue gun: For assembling parts
- Acrylic paint: For coloring the bobblehead
- Sealer: To protect the finished product
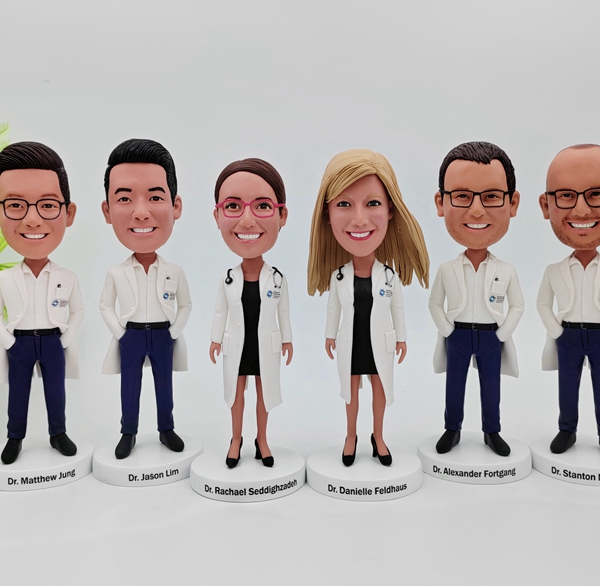
Step-by-Step Guide to Making Your Own Bobblehead
Step 1: Create the Skeleton
H3: Materials Needed:
- Wire
- Wire cutters
- Pliers
- Cut the Wire: Cut a length of wire (about 12 inches) for the body and a shorter piece (about 4 inches) for the neck.
- Shape the Body: Use pliers to bend the wire into a basic human shape. The body should have arms, legs, and a neck.
- Secure the Base: Attach the bottom of the body wire to your chosen base. Make sure it stands upright.
Step 2: Sculpt the Head and Body
H3: Materials Needed:
- Polymer clay
- Sculpting tools
- Make the Head: Roll a ball of polymer clay to the desired head size. Use sculpting tools to add facial features.
- Shape the Body: Add more clay to the wire skeleton to create the body. You can style it with clothes, hair, and any accessories.
- Details Matter: Pay attention to details like facial expressions and clothing styles to enhance personalization.
Step 3: Bake the Sculpture
- Preheat the Oven: Follow the instructions on your polymer clay package for the appropriate temperature.
- Bake: Place your bobblehead on a baking sheet and bake for the recommended time. This hardens the clay.
- Cool Down: Allow your creation to cool completely before proceeding to the next step.
Step 4: Painting and Finishing Touches
H3: Materials Needed:
- Acrylic paint
- Paintbrushes
- Sealer
- Paint the Bobblehead: Use acrylic paints to add color to your bobblehead. You can paint the face, hair, and clothes according to your design.
- Add Details: Once the paint is dry, add finer details like eyes and other features.
- Seal the Bobblehead: Once everything is dry, apply a sealer to protect your masterpiece from wear and tear.
Step 5: Assemble the Parts
- Attach the Head: Use a small piece of wire to connect the head to the neck. Make sure it can bobble by allowing some movement.
- Final Adjustments: Ensure everything is securely attached and make any necessary adjustments for balance.
Alternative Methods to Create Bobbleheads
If you prefer a less hands-on approach, here are a few alternatives:
1. Use a Bobblehead Kit
Many craft stores sell bobblehead kits that come with all the materials and instructions you need. These kits can be a quick and fun way to create a personalized bobblehead without starting from scratch.
2. Digital Design and 3D Printing
If you’re tech-savvy, consider designing your bobblehead using 3D modeling software. You can then print it using a 3D printer. This method allows for intricate details and precise customization.
3. Online Custom Bobblehead Services
For those who want a professionally made bobblehead, consider services like Omgbobbleheads.com.au. They offer custom bobbleheads created by skilled artists. You can send them your specifications, and they will craft a unique bobblehead for you.
Common FAQs About Making Your Own Bobblehead
1. What is the best material for a DIY bobblehead?
Polymer clay is highly recommended due to its ease of use and versatility. It’s easy to mold and hardens when baked, allowing for detailed designs.
2. How long does it take to make a bobblehead?
The time required can vary depending on your design and drying times. On average, expect to spend a few hours over a couple of days for painting and assembly.
3. Can I make a bobblehead of a specific character?
Absolutely! You can create bobbleheads of any character by modeling the features and attire accurately. Just ensure to focus on the distinctive traits that make them recognizable.
Table of Cost Estimates for DIY Bobblehead
| Material | Estimated Cost |
|---|---|
| Polymer Clay | $10 – $20 |
| Wire | $5 |
| Base (wood/plastic) | $3 – $10 |
| Acrylic Paint | $5 – $15 |
| Glue Gun and Glue Sticks | $10 |
| Total Estimated Cost | $33 – $70 |
Conclusion
Making your own bobblehead is not only a fun and creative project but also an affordable way to create a unique gift. Whether you choose to sculpt, paint, or use digital tools, the end result will be a personalized keepsake that is sure to delight. For those who prefer a professionally made option, companies like Omgbobbleheads.com.au provide exceptional custom bobbleheads crafted by skilled artists. Whichever route you choose, embrace your creativity and enjoy the process of making something truly special!